Introduction
I recently learned React, one of the most popular JavaScript frameworks in the world. I also created a gift for my sister using React. The main feature of the present is a video that contains a rickroll. When the rickroll plays, it should enable a previously disabled button.
Getting Started
Note: This tutorial assumes you have a react-ts or react app with vite included. So, if you don't have the project up and running, please visit the Vite docs.
Step 1: Add a video to App.tsx.
You can include a video using the HTML <video> tag.
Here's an example:
import rickRoll from "./rickroll.mp4";import "./App.css";function App() { return ( <> <div> <video src={rickRoll} width="750" height="500" controls></video> </div> </> );}export default App;In this code, make sure to place the video file (rickroll.mp4) in the public folder.
Step 2: Adding Refs
If you're new to React and aren't familiar with what a ref is, think of it as a
way to reference an element similar to document.querySelector in vanilla
JavaScript.
In React, using refs is considered a best practice instead of directly using
document. functions.
Let's add refs to our video tag:
import { createRef } from "react";import rickRoll from "./rickroll.mp4";import "./App.css";function App() { const videoRef = createRef<HTMLVideoElement>(); return ( <> <div> <video src={rickRoll} width="750" height="500" ref={videoRef} controls ></video> </div> </> );}export default App;In the updated code, we import the createRef function from React. We create a
ref using createRef<HTMLVideoElement>() and assign it to videoRef.
We then use ref={videoRef} to attach the ref to the video element. With refs,
you can access the underlying DOM element using videoRef.current.
To play or pause the video, you can use the following code:
- Play:
videoRef.current?.play() - Pause:
videoRef.current?.pause()
The ? is used to safely access the play() and pause() methods, as the current might be null initially.
Step 3. Adding onTimeUpdate
The <video> tag in HTML has an attribute called onTimeUpdate which allows us
to set a function that will be called whenever the timestamp in the video
changes.
In this step, we will create a function called handleTimeUpdate to handle this
event and perform certain actions when the target timestamp is reached.
To retrieve the current timestamp, we can use the following code snippet:
const currentTime = videoRef.current?.currentTime || 0;
Here is an example handleTimeUpdate function that we can use:
const handleTimeUpdate = () => {
    const currentTime = videoRef.current?.currentTime || 0;
    setTimestamp(currentTime);
    if (currentTime >= targetTimestamp && !didRickRollCome) {
        videoRef["current"].pause();
        setDidRickRollCome(true);
    }
};
And in the HTML you need to add the onTimeUpdate attribute:
<video
    src={rickRoll}
    width="750"
    height="500"
    ref={videoRef}
    onTimeUpdate={handleTimeUpdate}
    controls
></video>
By stitching all that code, we get the final result,
import { useState, createRef } from "react";import rickRoll from "/rickroll.mp4";import "./App.css";function App() { const targetTimestamp = 6; const [timestamp, setTimestamp] = useState(0); const [didRickRollCome, setDidRickRollCome] = useState(false); const videoRef = createRef<HTMLVideoElement>(); const handleTimeUpdate = () => { const currentTime = videoRef.current?.currentTime || 0; setTimestamp(currentTime); if (currentTime >= targetTimestamp && !didRickRollCome) { onTimestamp(); } }; const onTimestamp = () => { // When the timestamp is at 6 seconds do this: videoRef.current?.pause(); setDidRickRollCome(true); }; return ( <> <div> <p>The Video is at {timestamp} seconds</p> {didRickRollCome ? ( <p>Passed {targetTimestamp} seconds!</p> ) : null} <video src={rickRoll} width="750" height="500" ref={videoRef} onTimeUpdate={handleTimeUpdate} controls ></video> </div> </> );}export default App;I have added this code so it will show the current timestamp and if it touched
the targetTimestamp var in the UI:
<p>The Video is at {timestamp} seconds</p>;
{
    didRickRollCome ? <p>Passed {targetTimestamp} seconds!</p> : null;
}
The handleTimeUpdate function retrieves the current timestamp from
videoRef.current?.currentTime with a default value of 0. It updates the
timestamp state with setTimestamp(currentTime).
If the current timestamp is at least the target timestamp and the Rickroll
hasn't occurred, it pauses the video with and sets didRickRollCome to true
Extra Step (If you are using React with JS)
In Step 2, you will need to change this:
// Line No. 6
const videoRef = createRef<HTMLVideoElement>();
to
const videoRef = createRef();
We are doing that as, Javascript does not support types.
Also, the file extension should be .jsx instead of .tsx
Results
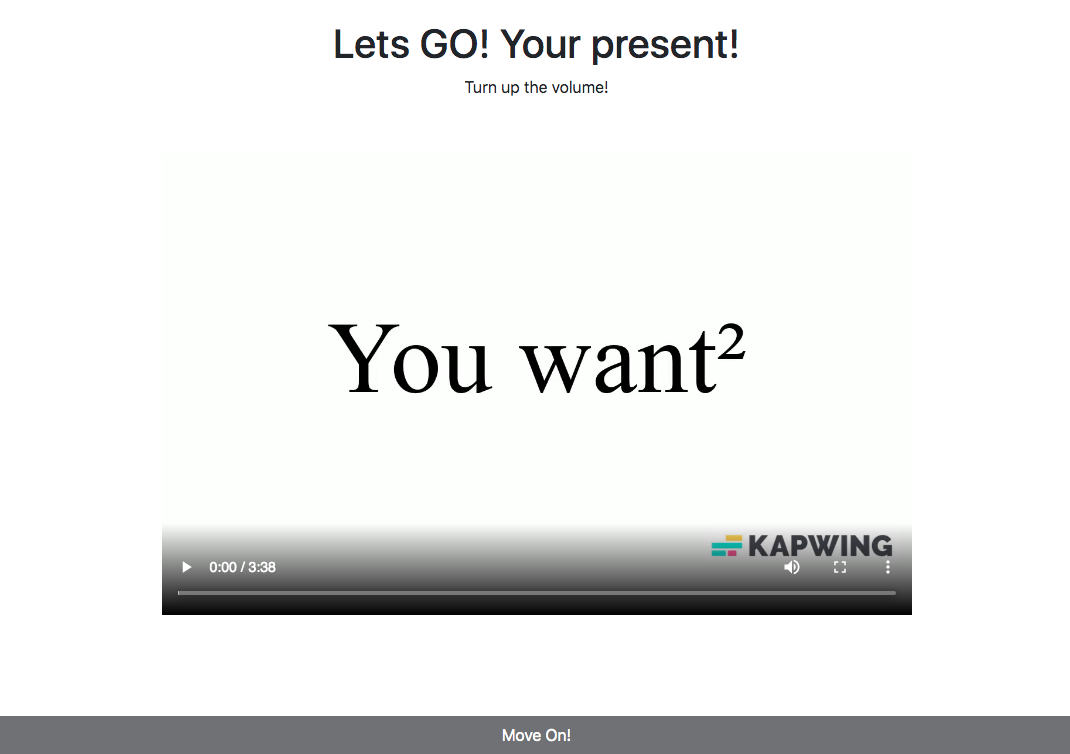
Github (containing both react and react-ts): Stop At Sec
Demo (I have hosted only react as it is the same as react-ts): GH Pages
Conclusion
React's JSX syntax is similar to HTML, but when working with React, it's
recommended to use refs instead of directly manipulating the DOM with
document. functions.
In this tutorial, we covered how to add a video to a React component using the
<video> tag, how to use refs to reference the video element, and how to access
and control the video using the ref.
I hope this tutorial has been helpful in your React journey!
And If you want to see the present I gave to my sister, give me an DM on Discord (thecodingsage#8758)
Happy coding!